The Ultimate Guide to Floor Installation and Sanding in Cincinnati


Understanding the Basics of Floor Installation
Floor installation is a crucial step in enhancing the aesthetics and functionality of your home. Whether you are opting for hardwood, laminate, or vinyl, each type of flooring comes with its own set of challenges and advantages. In Cincinnati, where the climate can be quite variable, choosing the right flooring material is essential.
Before starting the installation process, it's important to measure the area accurately and ensure that the subfloor is clean and level. A smooth surface is key to achieving a flawless finish. Additionally, gathering all necessary tools and materials beforehand will make the installation process more efficient.

Choosing the Right Flooring Material
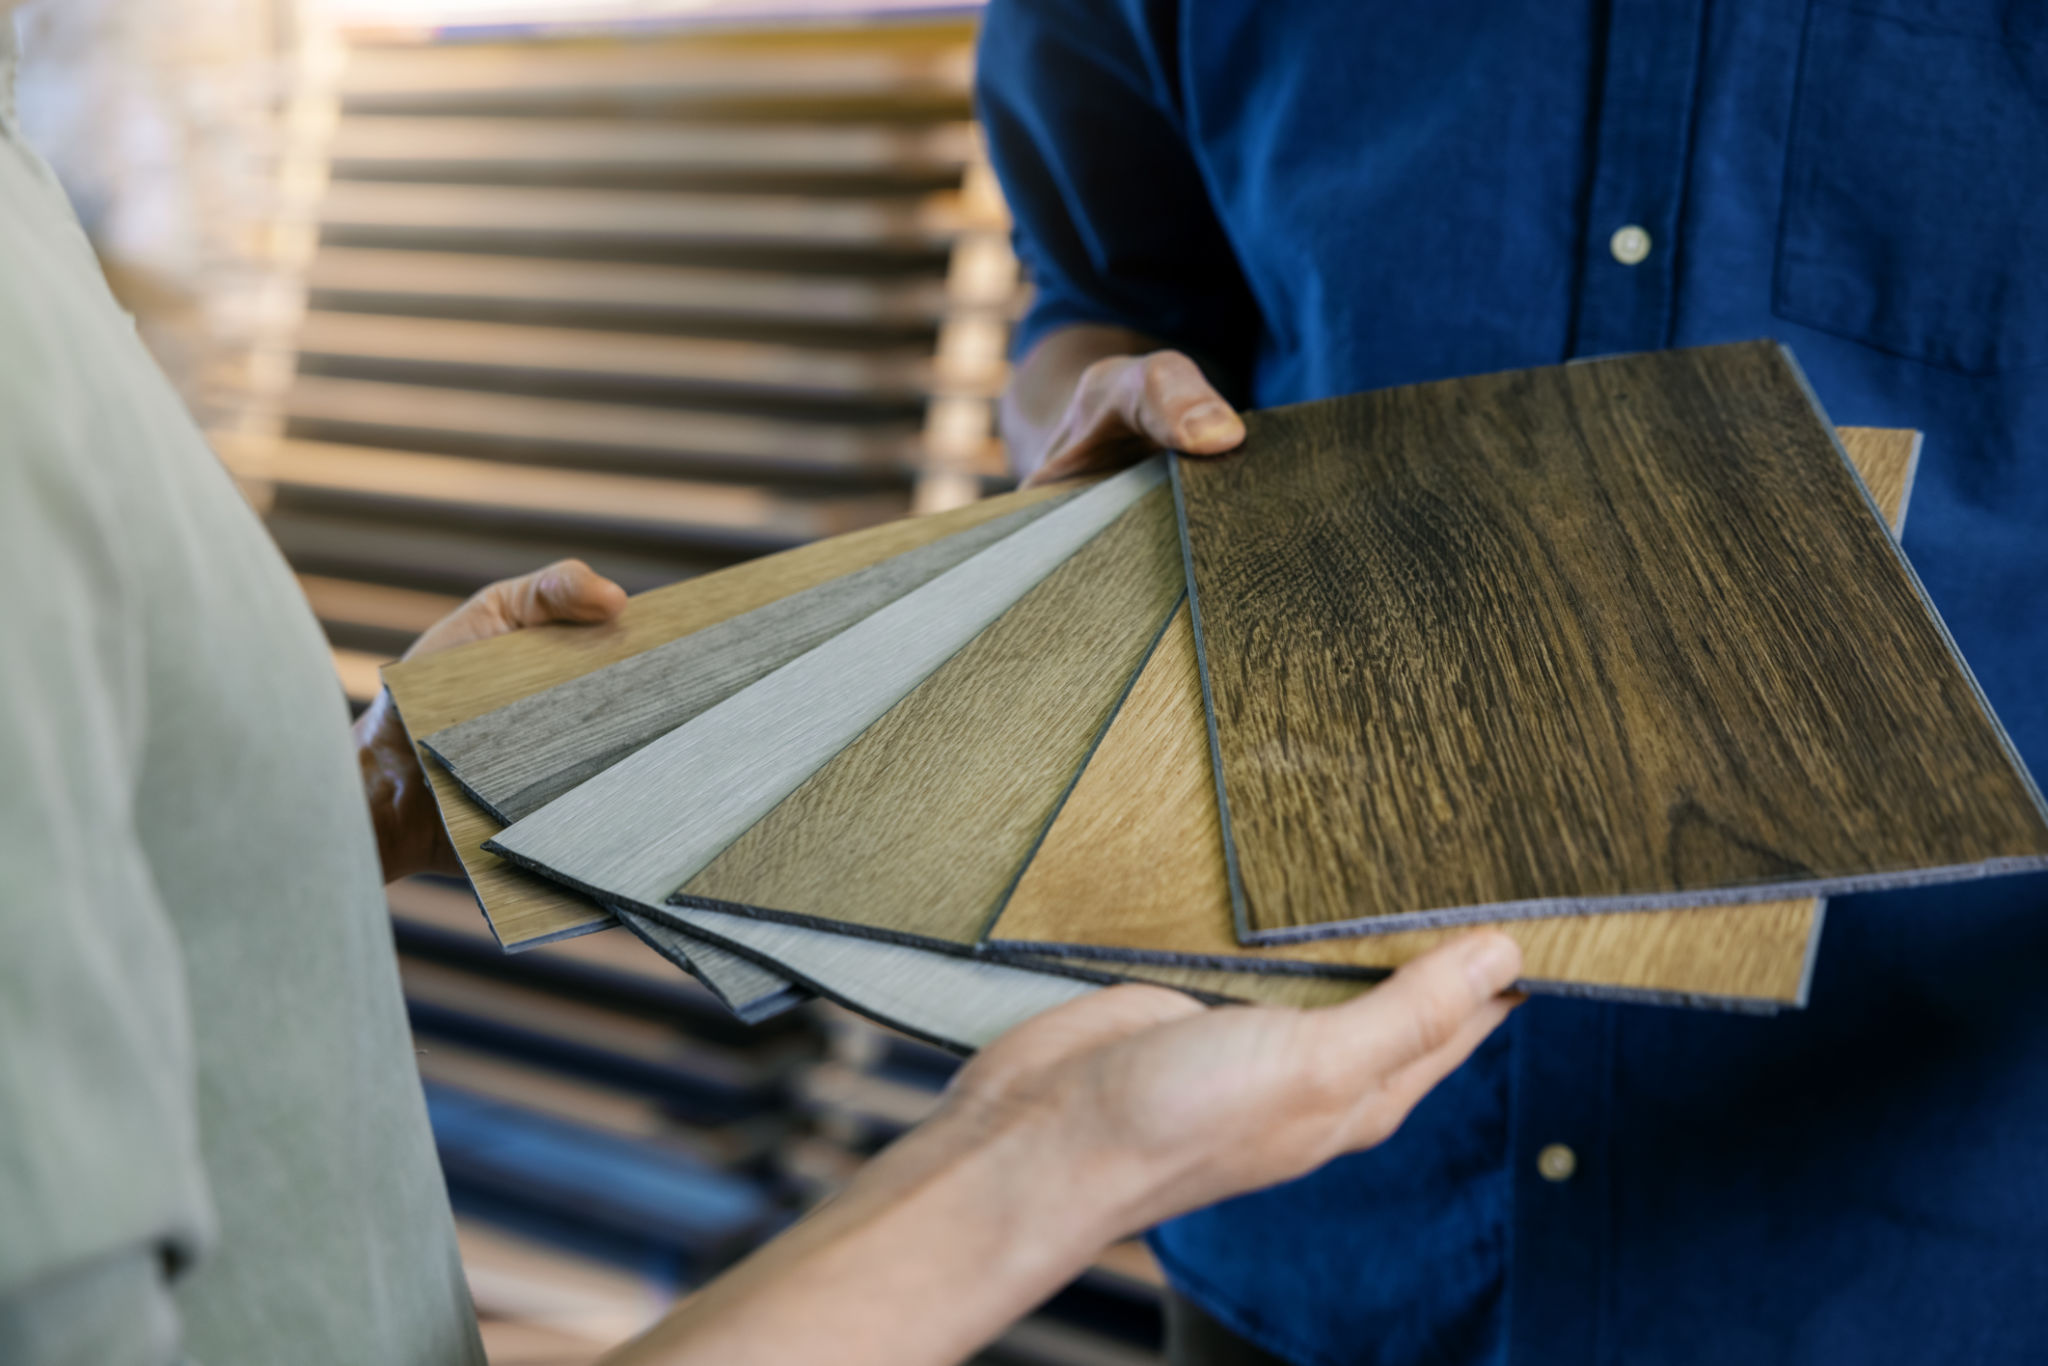
When selecting flooring materials, consider factors such as durability, maintenance, and cost. Hardwood floors offer a classic look and are highly durable, making them a popular choice. However, they require regular maintenance to keep them looking their best.
For those seeking a more budget-friendly option, laminate flooring can mimic the look of hardwood at a fraction of the cost. It's also less susceptible to scratches and stains, making it ideal for homes with pets or children. On the other hand, vinyl flooring offers versatility and water resistance, perfect for kitchens and bathrooms.
Preparing for Floor Sanding
Floor sanding is an essential step when refinishing hardwood floors. It helps remove imperfections, old stains, and finishes, giving your floors a fresh start. Before sanding, ensure that all furniture is removed from the room and that any nails or staples are countersunk to avoid damaging the sanding equipment.
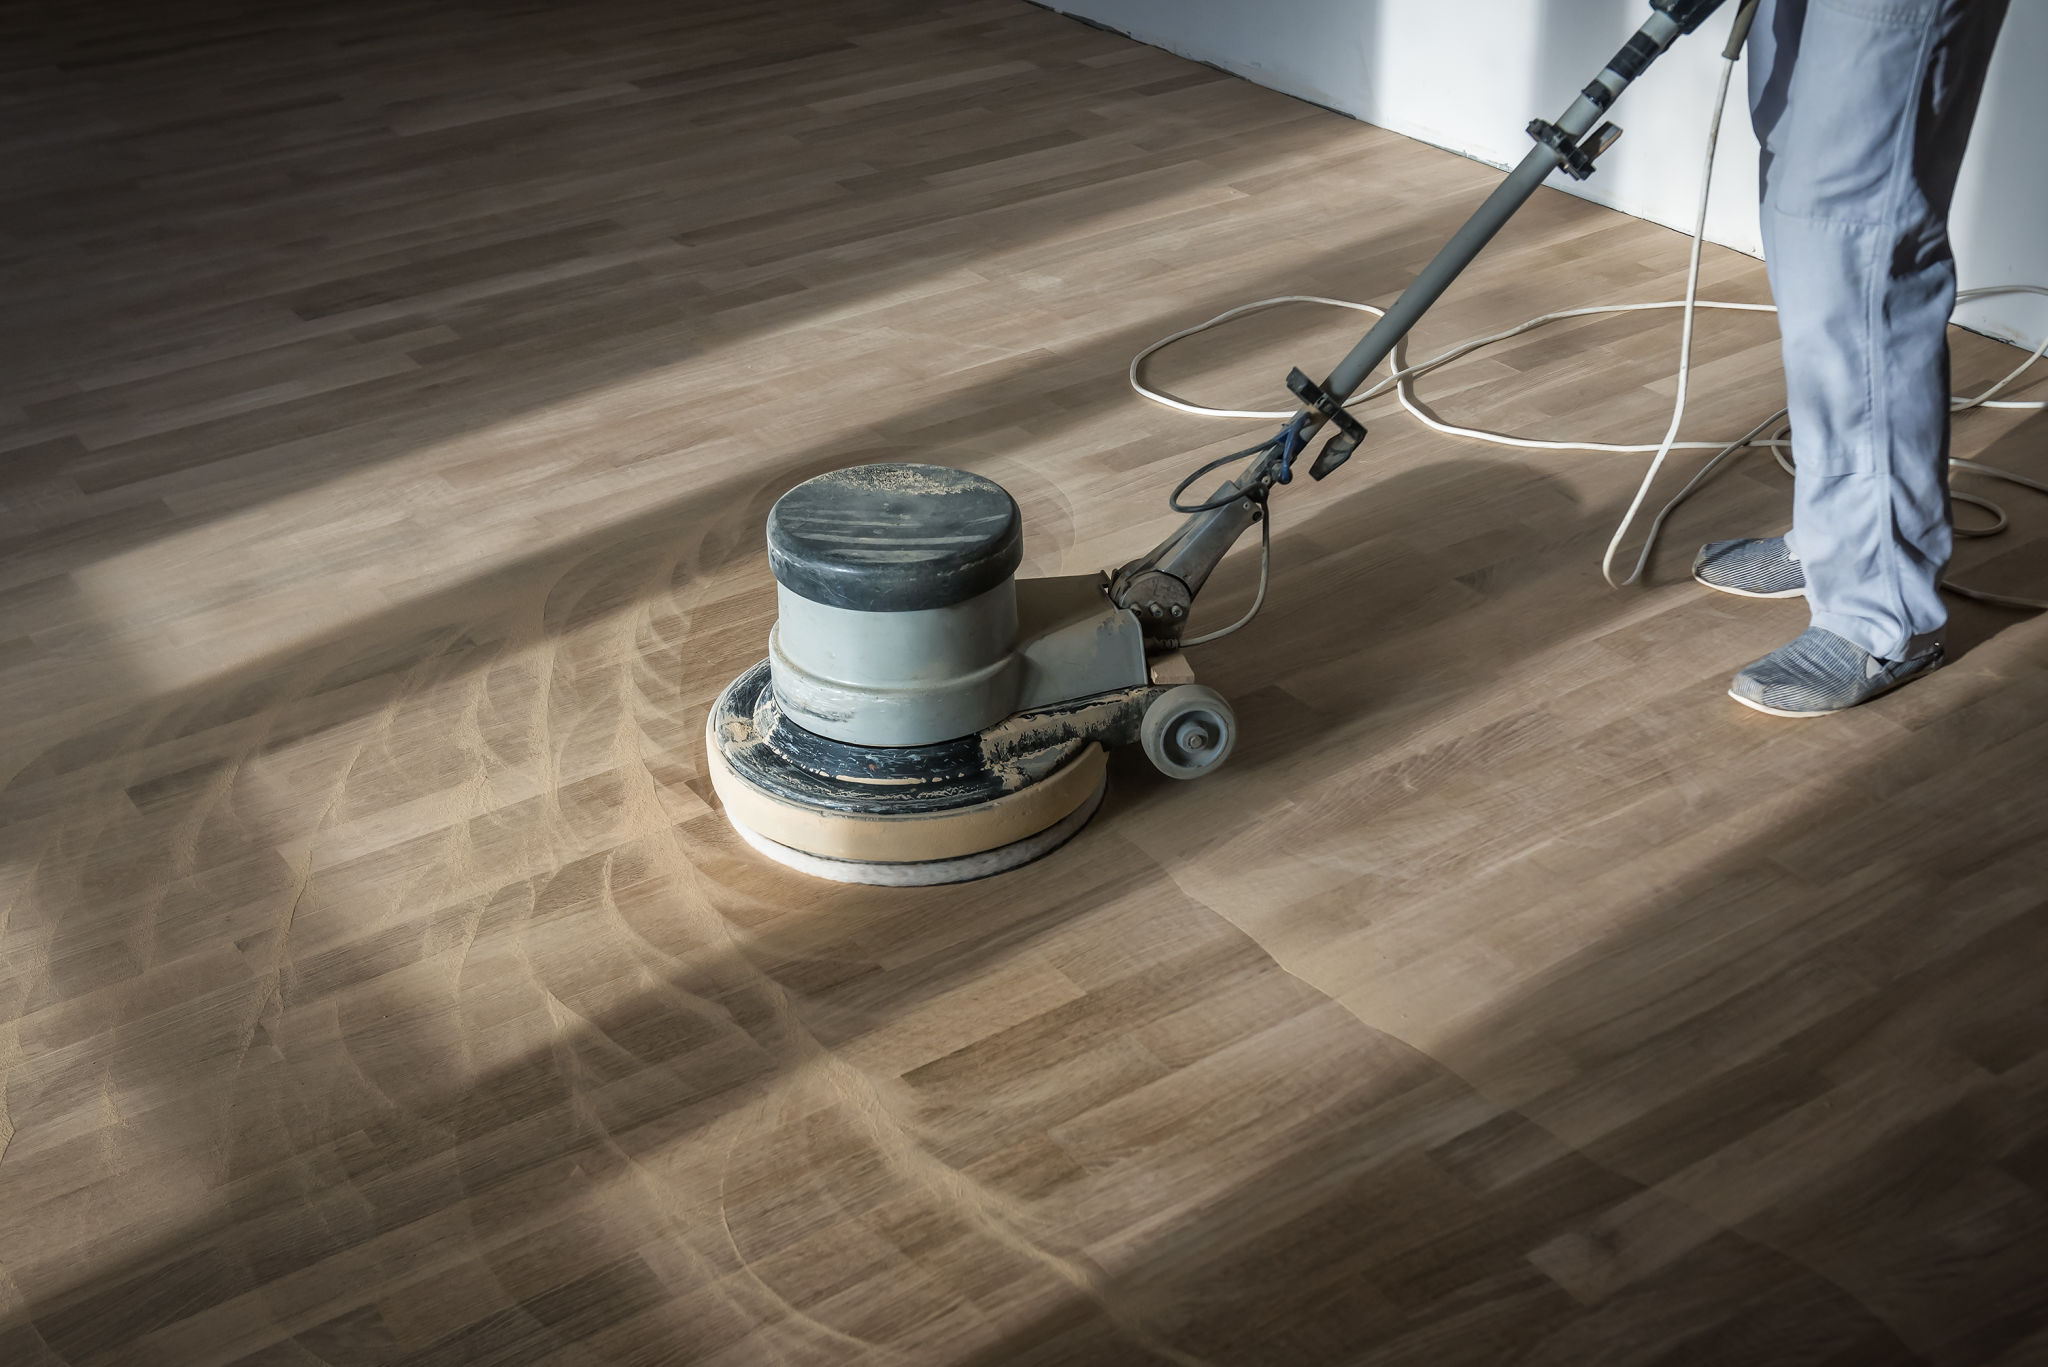
The Floor Sanding Process
Start with coarse-grit sandpaper to remove the old finish and surface imperfections. Gradually move to finer grits to achieve a smooth finish. It's crucial to sand in the direction of the wood grain to prevent scratches. Keep the sander moving steadily to avoid creating troughs or uneven surfaces.
After sanding, vacuum thoroughly to remove all dust particles. This step is vital before applying any stain or finish, as dust can create an uneven texture on the newly sanded floors.
Applying Finish for Longevity
The final step in floor installation and sanding is applying a protective finish. This not only enhances the floor's appearance but also extends its lifespan by protecting it from daily wear and tear. Choose between oil-based and water-based finishes based on your preference for durability and drying time.
Apply the finish in thin, even coats using a high-quality brush or roller. Allow ample drying time between coats as recommended by the manufacturer. Typically, two to three coats are sufficient for optimal protection.

Hiring Professionals for Optimal Results
While DIY floor installation and sanding can be rewarding, hiring professional services in Cincinnati ensures precision and quality results. Experienced professionals have access to advanced tools and techniques that can save you time and effort.
Professionals also provide invaluable advice on maintaining your new floors, helping you preserve their beauty for years to come. Whether you decide to tackle this project yourself or seek expert help, understanding the process is key to making informed decisions.