Your Ultimate Guide to Hardwood Floor Sanding and Finishing


Understanding the Basics of Hardwood Floor Sanding
Sanding hardwood floors is an essential part of maintaining their beauty and longevity. It involves removing the top layer of the floor to reveal a fresh surface beneath. This process can eliminate scratches, stains, and other imperfections, giving your floors a renewed shine and appeal.
Before you begin sanding, it's crucial to determine if your floors are suitable for this process. Solid hardwood can be sanded multiple times over its lifespan, while engineered hardwood has a thinner veneer that limits the number of sandings it can endure. Ensuring your floor's suitability will prevent costly mistakes and preserve its integrity.
Preparing for the Sanding Process
Preparation is key to a successful sanding project. Start by removing all furniture and rugs from the room. This not only provides an unobstructed workspace but also protects your belongings from dust and damage. Next, inspect the floor for any nails or staples that may protrude above the surface, as these can damage sanding equipment.
Seal off doorways and vents with plastic sheeting to contain dust within the work area. It's also advisable to wear protective gear such as goggles, gloves, and a dust mask to safeguard yourself during the process. Careful preparation will ensure a smooth, efficient sanding experience.
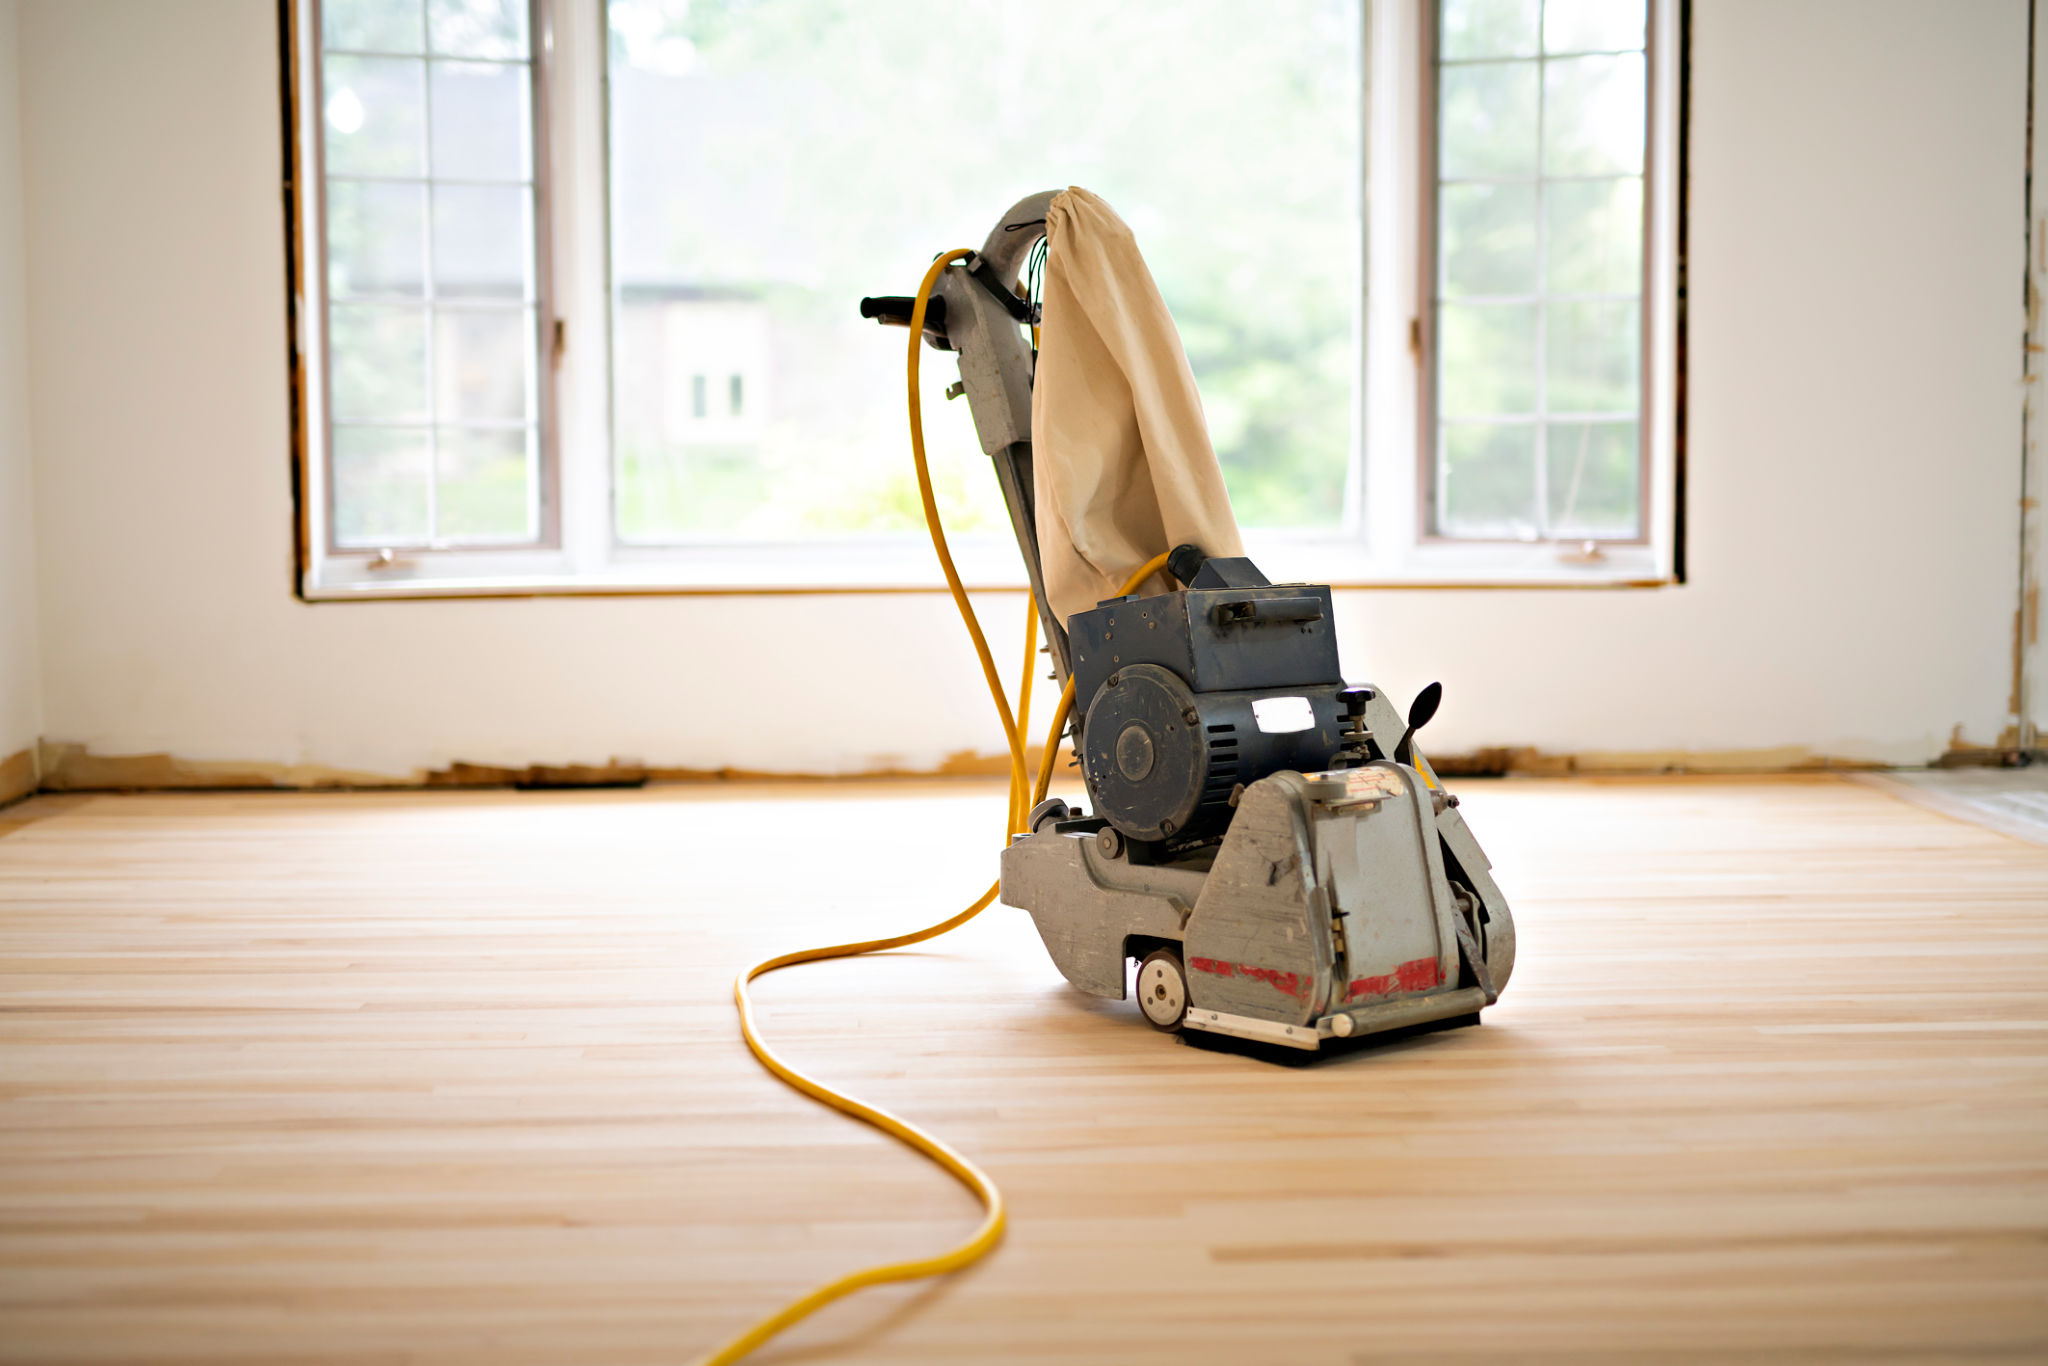
Choosing the Right Equipment
Selecting the appropriate sanding equipment is vital for achieving a professional finish. A drum sander is ideal for large, open areas, while an edge sander is perfect for reaching corners and edges. Renting these tools from a local hardware store is often more cost-effective than purchasing them outright.
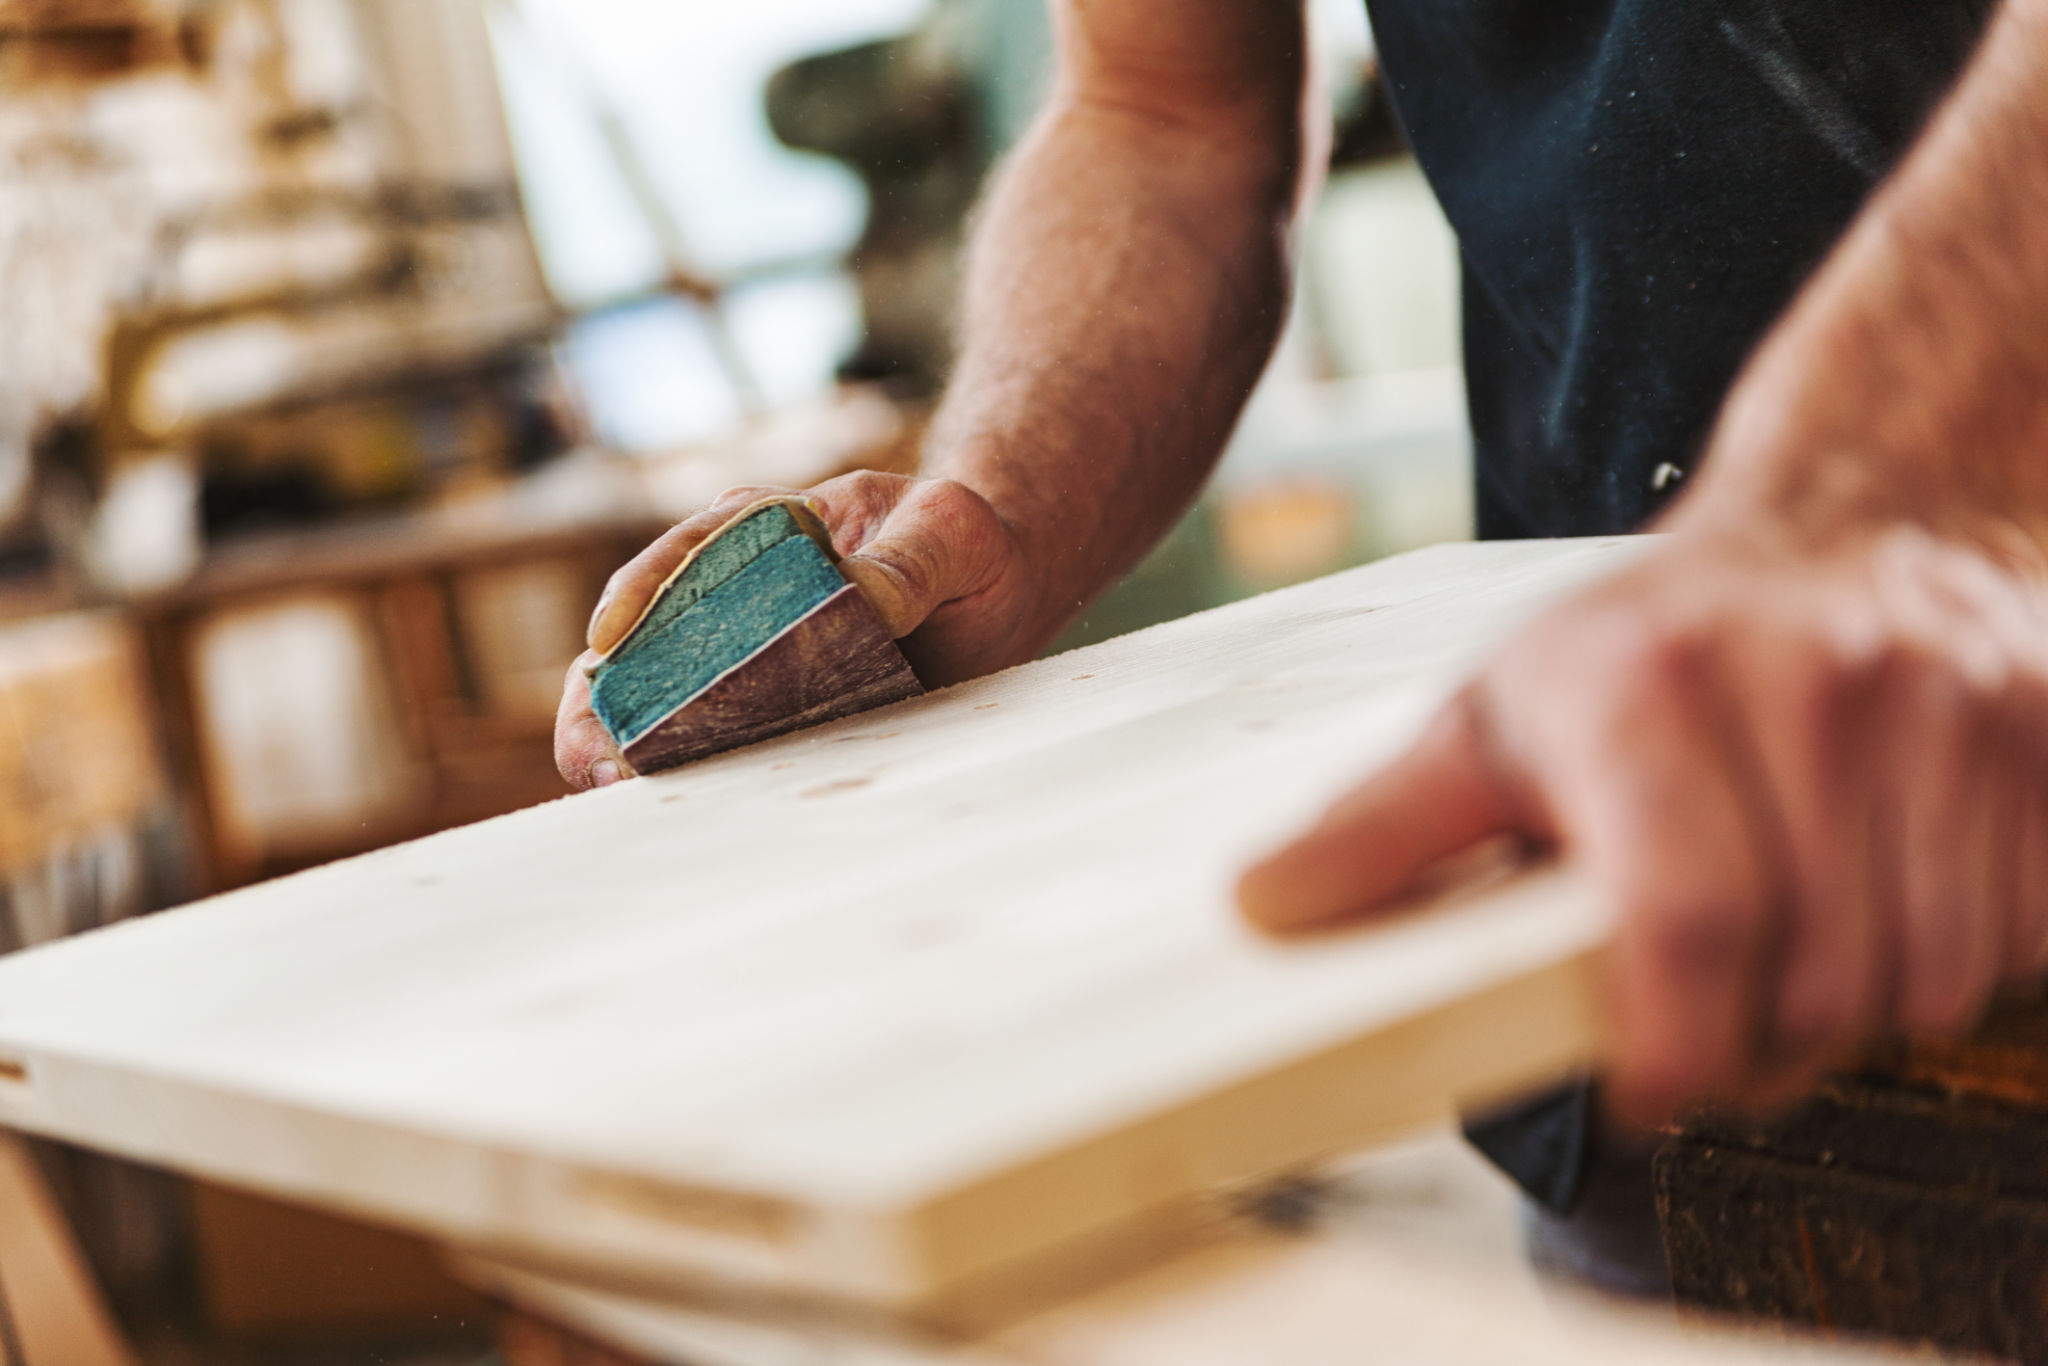
When choosing sandpaper, start with a coarse grit to remove deep scratches and imperfections. Gradually progress to finer grits to achieve a smooth finish. Always sand in the direction of the wood grain to avoid creating unsightly scratches or gouges.
Executing the Sanding Process
Begin sanding by following a systematic approach. Start with the coarse grit sandpaper, moving slowly across the entire floor. As you progress to finer grits, overlap each pass slightly to ensure even coverage. Keep the sander moving at a steady pace to avoid uneven surfaces or burn marks.
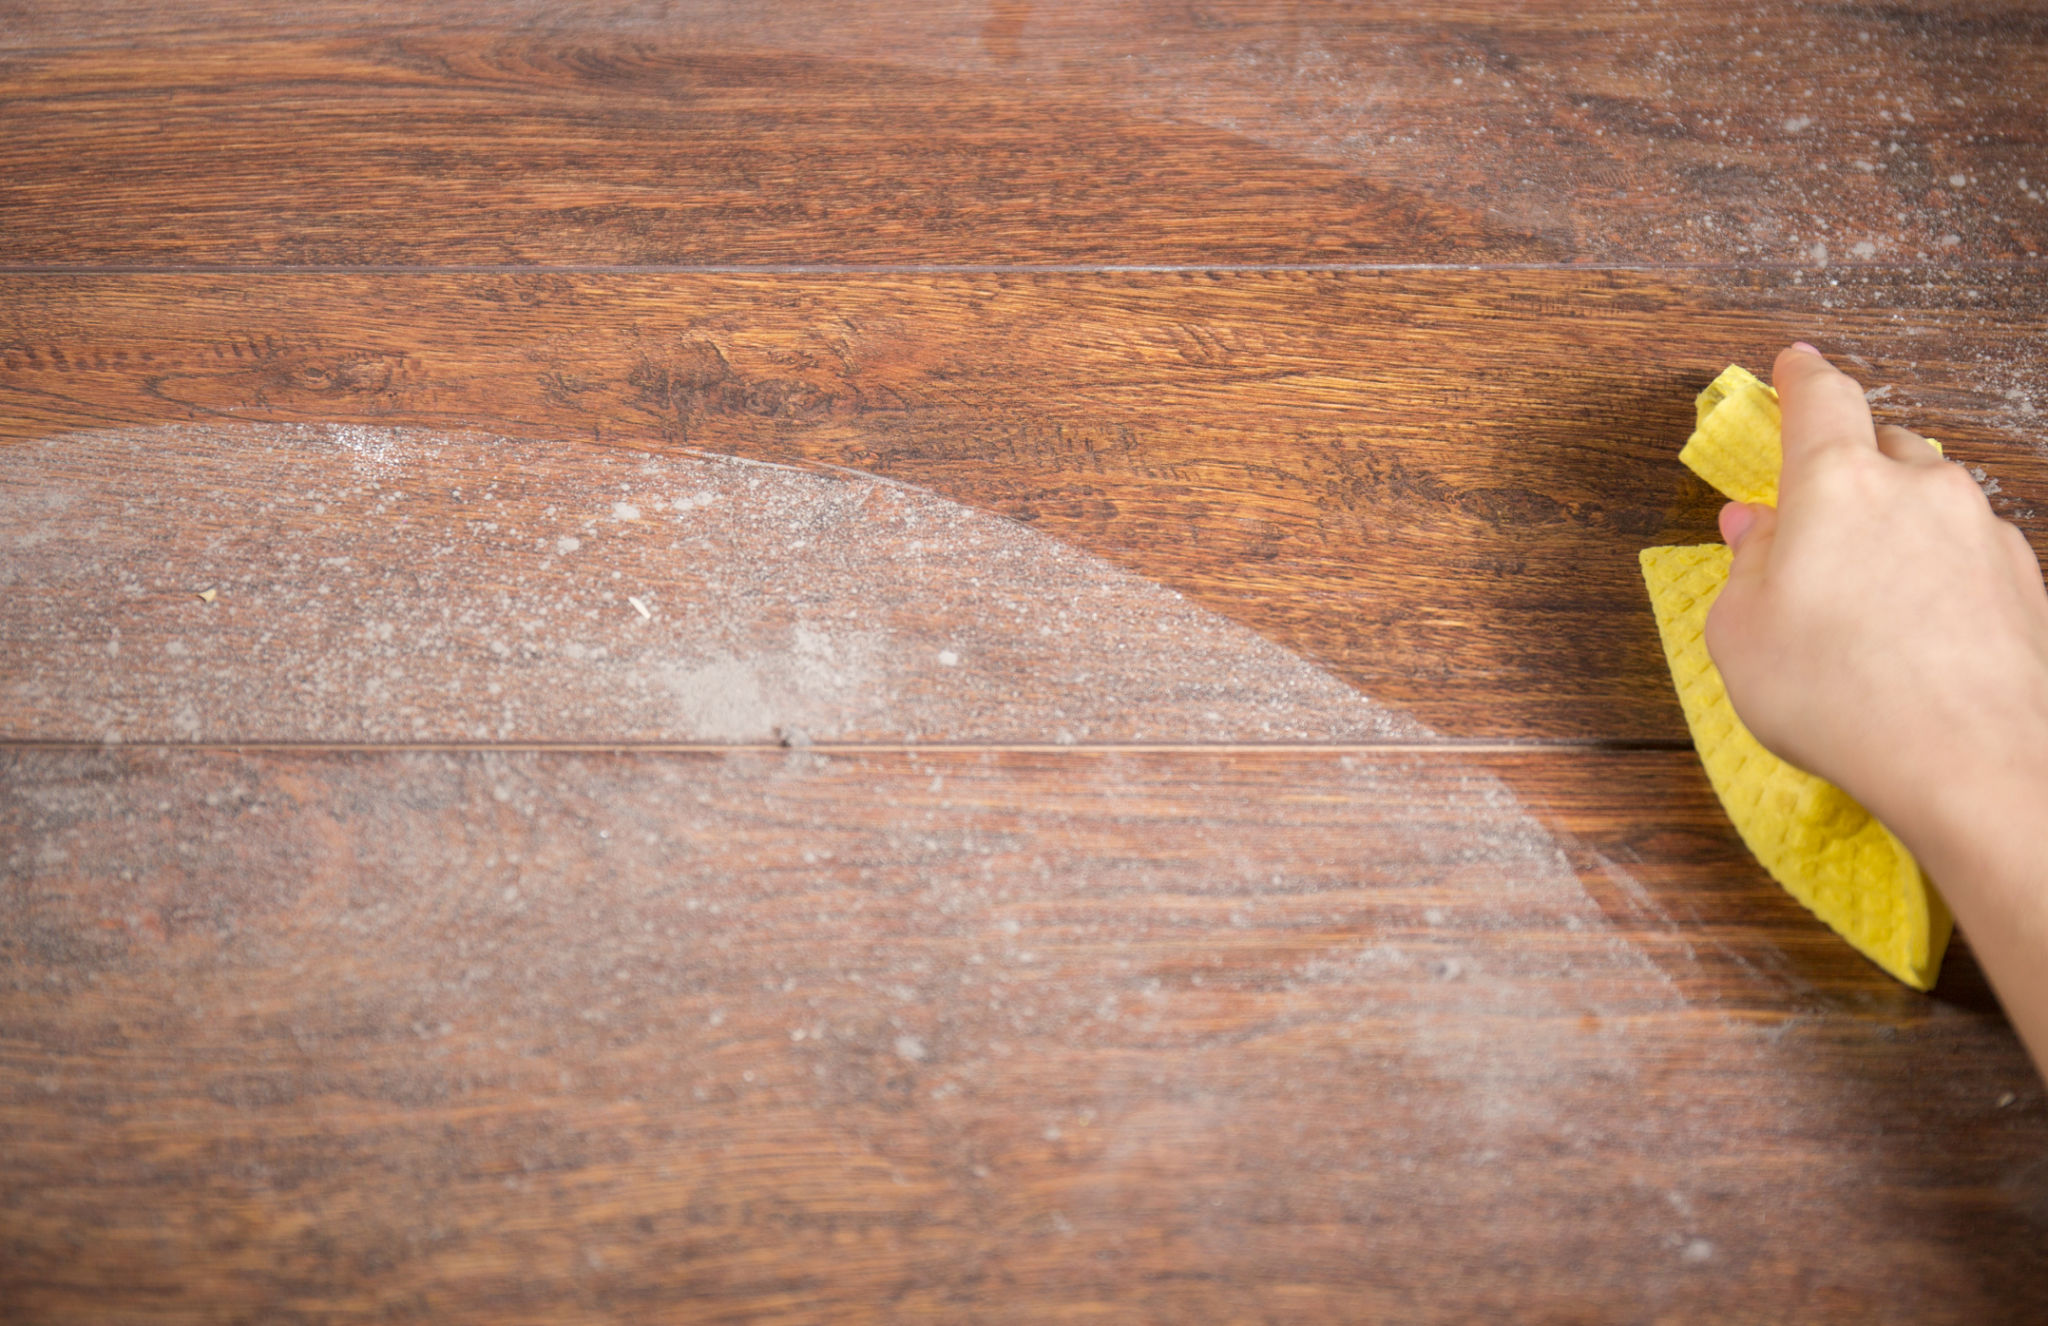
Once you've completed sanding with all necessary grits, use a vacuum or microfiber cloth to remove residual dust from the floor. This step is crucial before applying any finishes, as dust particles can mar the appearance of your final product.
Finishing Your Hardwood Floors
After sanding, it's time to apply a finish that will protect and enhance your hardwood floors. There are several options available, including oil-based polyurethane, water-based polyurethane, and penetrating oil finishes. Each type has its own advantages, so choose based on your aesthetic preference and durability requirements.
Apply the finish with a brush or roller, following the manufacturer's instructions for drying times between coats. Most finishes require at least two to three coats for optimal protection. Allow sufficient drying time before replacing furniture or walking on the newly finished floor.
Maintaining Your Newly Finished Floors
Regular maintenance will keep your hardwood floors looking pristine for years to come. Use a gentle cleaner specifically designed for hardwood and avoid harsh chemicals that can damage the finish. Place felt pads under furniture legs to prevent scratches, and implement a no-shoes policy to keep dirt and grit at bay.
By following these guidelines, you can enjoy the timeless beauty of your hardwood floors while preserving their condition over time. Regular care and attention will ensure they remain a stunning feature in your home.
